You don’t need expensive gear to see a big boost in your home studio’s sound quality. Simple upgrades like optimizing microphone placement, adding acoustic panels, and managing cables can make a noticeable difference. Improving your room’s acoustics and investing in better headphones also help you hear your mixes more accurately. These small steps are quick, affordable, and highly effective—so if you want to know more about making your studio sound professional, keep exploring these smart upgrades.
Key Takeaways
- Small improvements like acoustic panels and proper microphone placement can significantly improve sound clarity without high costs.
- Upgrading monitor calibration and using reliable headphones enhance mixing accuracy and translation.
- Soundproofing techniques, such as bass traps and room treatment, reduce reflections and external noise, improving overall sound quality.
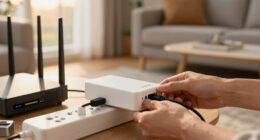
- Proper cable management and stable stands prevent signal loss and ensure consistent recording conditions.
- Regular equipment calibration and maintenance maintain sound fidelity and prevent quality degradation over time.

Focusound 52 Pack Acoustic Foam Panels 1" x 12" x 12" Sound Proof Foam Panles Soundproofing Noise Cancelling Wedge Panels for Home Office Recoding Studio with 300PCS Double-Side Adhesive
Soundproofing – Acoustic foam panels triangular grooves structure for better noise absorption, helps to reduce and absorb unwanted…
As an affiliate, we earn on qualifying purchases.
As an affiliate, we earn on qualifying purchases.
The Simplest Home Studio Upgrades Usually Create the Biggest Quality Jump

Often, the simplest upgrades in your home studio can lead to the biggest improvements in sound quality. Starting with budget microphones can considerably enhance your recordings without breaking the bank. These microphones might not be top-tier, but they still capture your sound clearly and accurately, making your recordings more professional. Pairing this with acoustic panels helps control your room’s acoustics, reducing echo and unwanted reflections. Acoustic panels are affordable and easy to install, instantly improving sound clarity. Additionally, understanding soundproofing techniques can further prevent external noise from interfering with your recordings. For optimal setup, utilizing cabling solutions like proper cable management and durable connections can prevent signal loss and noise interference, further elevating your sound quality. Proper room analysis with tools like room analyzers can help identify specific acoustic issues and tailor your adjustments for the best possible sound. Even small adjustments like monitor placement can make a noticeable difference in your recording environment. These straightforward upgrades don’t require technical expertise or large investments, but they greatly elevate your home studio’s overall sound quality.

TONOR TC-777 Podcast Microphone, USB Computer Microphone, Cardioid Condenser PC Mic with Tripod Stand and Pop Filter for Podcasting, Streaming, Vocal Recording, Compatible with PC & Laptop, PS4/5
Cardioid Pick-up: Ccardioid pickup pattern that captures clear and crisp voice in front of the mic and suppresses…
As an affiliate, we earn on qualifying purchases.
As an affiliate, we earn on qualifying purchases.
How to Improve Your Home Studio With Small Upgrades
Building on the benefits of simple upgrades, there are many small adjustments you can make that have a noticeable impact on your home studio’s sound. For example, adding a dedicated vocal booth creates a controlled space, reducing unwanted room reflections and background noise. If a vocal booth isn’t feasible, focus on sound dampening with affordable materials like foam panels, blankets, or carpets placed strategically around your recording area. These simple changes can considerably improve clarity and reduce echo. Implementing dialogue clarity techniques can further enhance your recordings, ensuring every word is heard clearly. Understanding the battery inverter generator capacity can help you select reliable power sources for your studio equipment, avoiding interruptions during critical recordings. Using car protection/accessories knowledge, you can also safeguard your equipment from power surges and environmental damage. Additionally, proper studio setup can optimize your workflow and reduce setup time for each session. Being mindful of soundproofing techniques can further minimize external noise interference, making your recordings even cleaner. You don’t need expensive equipment—just smart placement and basic materials. Small upgrades like these make a big difference, helping you achieve cleaner recordings and a more professional sound, all without breaking the bank.
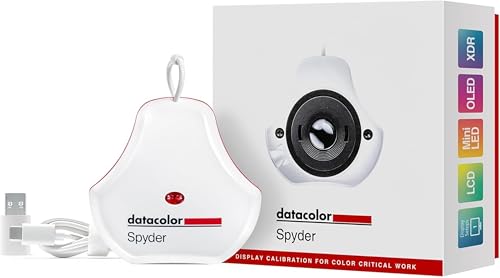
datacolor Spyder – Monitor Calibrator for Graphic Designers, Photographers, and Content Creators, Shows You True Colors, Works on OLED Monitors & LED Screens, Easy-to-Use Color Calibration Tool
Color “Surprises” Are a Thing of the Past: Datacolor’s exclusive DevicePreview TM Beta feature simulates what your photos…
As an affiliate, we earn on qualifying purchases.
As an affiliate, we earn on qualifying purchases.
Choosing the Best Microphone Stand for Better Recordings
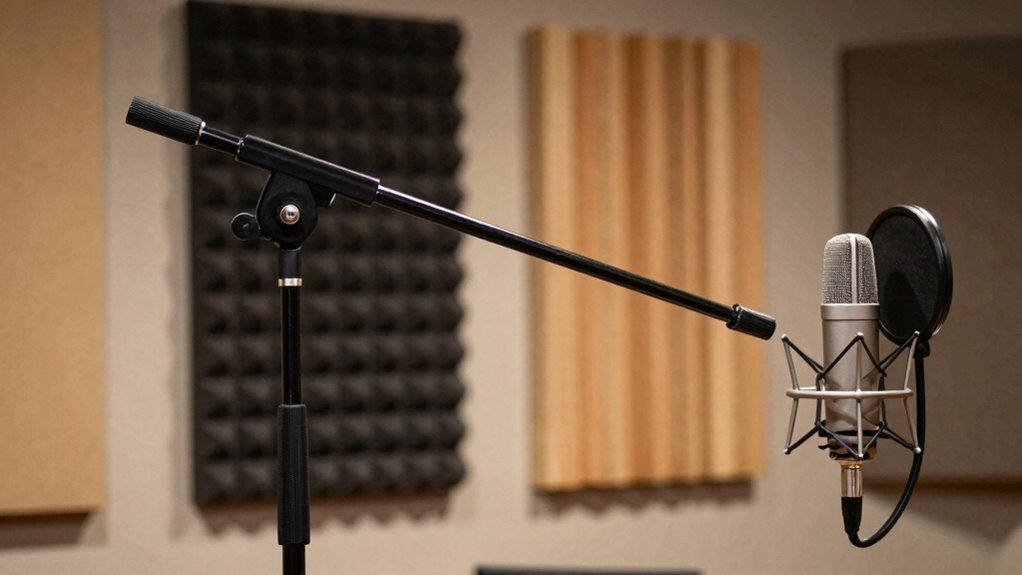
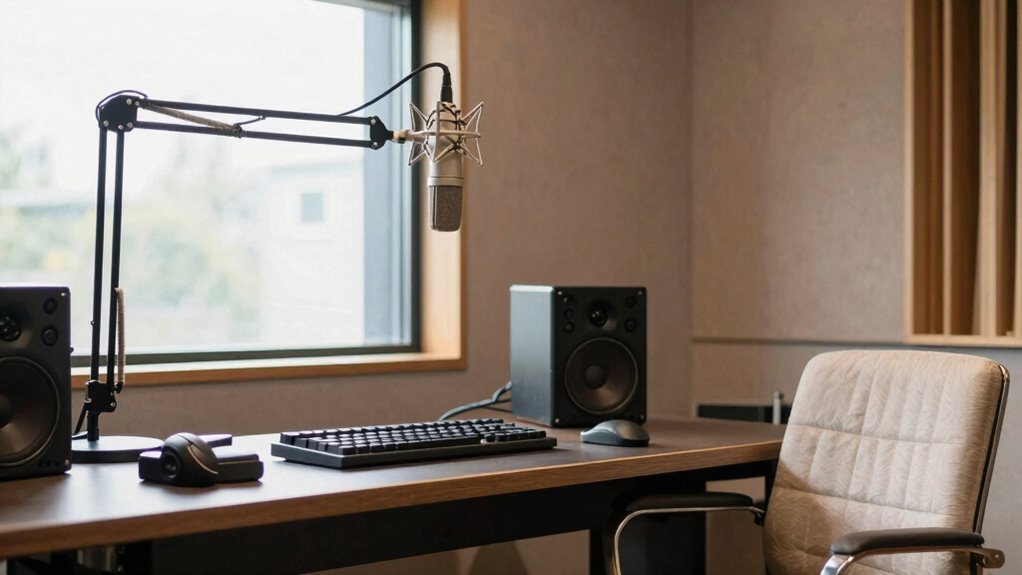
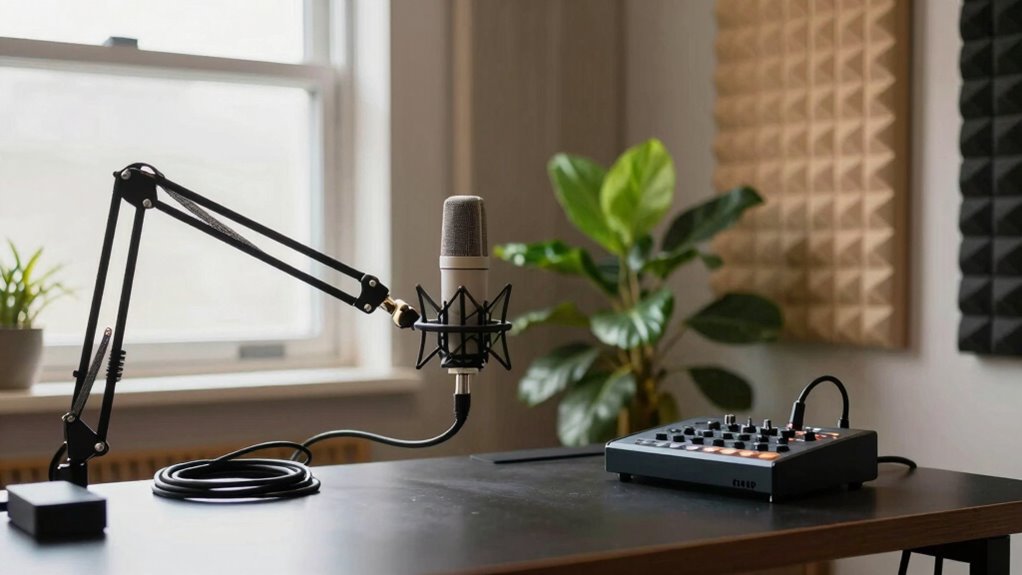
Choosing the right microphone stand is essential for capturing clear, professional recordings. A stable stand ensures your microphone stays steady during performances, reducing unwanted noise caused by movement. When selecting a stand, consider its stability—look for a sturdy base and adjustable height that won’t wobble or tip easily. Stand stability directly impacts microphone placement, helping you position your mic precisely where you need it for ideal sound quality. A flexible stand with adjustable arms allows you to fine-tune microphone placement easily, whether you’re recording vocals or instruments. Avoid cheap or flimsy stands that might shift unexpectedly, compromising your sound. Investing in a reliable microphone stand improves your recording consistency and clarity, making your home studio sound more professional with minimal effort. Incorporating stability features like adjustable heights and stability options can also enhance your setup and usability, especially when considering microphone stand durability for long-term use. Additionally, selecting a stand with secure mounting options can help ensure your microphone remains steady even during extended recording sessions.

8 Pack – Bass Traps Acoustic Foam Corner, 8''x8''x12'' Black Bass Traps Corner Studio Foam, High Density and Fire-Proof Acoustic Panels Recording Studio Acoustical Treatments
Acoustic Principle- Bass Trap is a kind of sound absorbing structure specially used to absorb specific low-frequency standing…
As an affiliate, we earn on qualifying purchases.
As an affiliate, we earn on qualifying purchases.
Setting Up Acoustic Treatments to Clear Up Your Sound
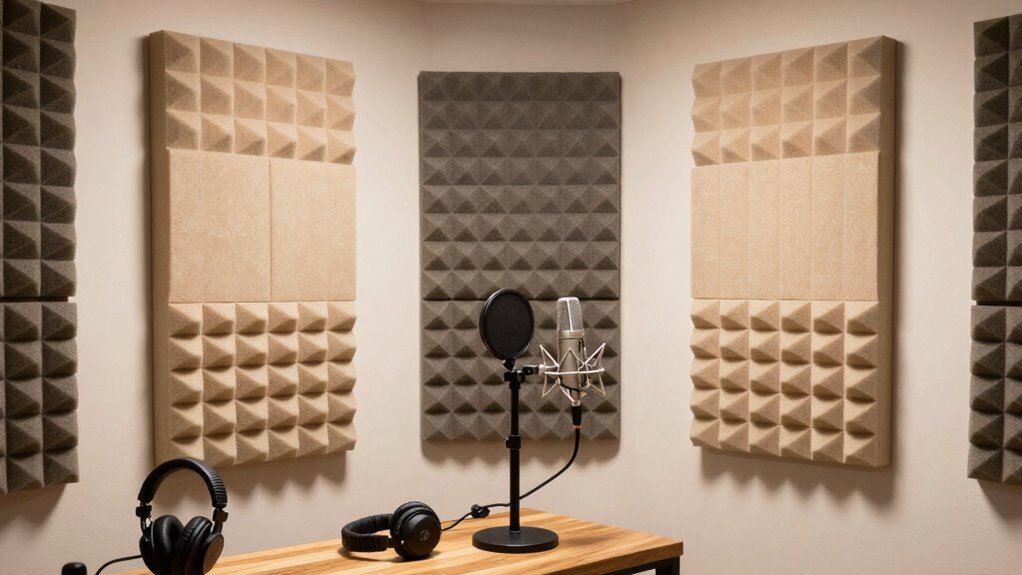
To achieve clear, professional sound quality in your home studio, setting up effective acoustic treatments is essential. Start by considering your room dimensions—small or oddly shaped spaces can cause sound reflections. Use sound absorption materials like foam panels or bass traps to reduce echo and standing waves. Proper placement is key: position panels at reflection points and corners. Here’s a simple guide:
| Area | Treatment Type |
|---|---|
| Reflection points on walls | Acoustic foam panels |
| Room corners | Bass traps |
| Ceiling | Diffusers or foam panels |
| Floor | Carpets or rugs |
| Behind monitors | Absorbing materials |
This setup helps balance sound absorption, creating a cleaner, more accurate listening environment. Additionally, room dimensions play a crucial role in determining the appropriate treatment placement. Understanding regional coffee and tea flavors and pairings can inspire a cozy, inviting atmosphere in your studio space, enhancing both creativity and comfort. Moreover, considering room acoustics can significantly influence the overall sound clarity and quality. Incorporating acoustic treatment placement strategies tailored to your specific space can make a significant difference in achieving optimal sound quality, especially when considering how sound reflections impact your recordings.
Why Upgrading Your Headphones Makes a Difference

Upgrading your headphones can considerably improve your overall sound quality and listening experience. Better headphones offer enhanced sound isolation, allowing you to focus on your mix without external distractions. With improved sound isolation, you’ll hear more detail and nuance in your recordings, helping you make more accurate adjustments. Additionally, upgraded headphones provide greater comfort, so you can work longer without fatigue or discomfort. Comfortable headphones guarantee you stay focused, reducing the need for constant breaks and allowing you to trust your ears fully during critical listening sessions. Investing in quality headphones is a simple yet effective way to elevate your home studio, making your mixes clearer and more precise while keeping your ears comfortable during those long production hours. Ensuring your setup is safe and free from hazards, such as portable oil radiators, can also create a more comfortable and worry-free environment for your creative work. Properly calibrated equipment and a comfortable environment help you maintain optimal listening conditions, which is essential for high-quality audio production. Incorporating soundproofing or acoustic treatment can further improve your environment by reducing unwanted echoes and external noise. Additionally, choosing headphones with accurate sound reproduction can make a significant difference in translating your mixes to other systems. Regularly verifying your monitoring setup ensures consistent sound quality across different listening environments and devices.
Frequently Asked Questions
What Budget Should I Allocate for Basic Home Studio Upgrades?
You should allocate around $200 to $300 for basic home studio upgrades. Prioritize good studio lighting to improve your setup’s clarity and mood, and invest in proper cable management to keep everything organized and safe. These simple upgrades make a significant difference in your production quality without breaking the bank. Focus on these essentials first, and you’ll see immediate improvements in your workflow and results.
How Do I Know if My Current Equipment Needs Upgrading?
Like a trusty steed in a medieval tale, your equipment’s longevity indicates if it’s time for an upgrade. If your gear’s outdated, noisy, or no longer meets your needs, it’s a sign. Comparing brands helps you find better options, while evaluating whether your current equipment still delivers quality sound. When upgrades improve clarity, reduce latency, or expand features, it’s time to invest in new gear to elevate your studio.
Are There DIY Acoustic Treatments That Work Effectively?
Yes, DIY acoustic treatments can be effective. You can build your own acoustic panels using materials like mineral wool or fiberglass insulation, covered with breathable fabric. Placing these panels strategically on walls and behind speakers helps absorb sound reflections, improving your room’s acoustics. Additionally, hanging heavy curtains or using thick blankets can serve as quick, affordable DIY solutions to reduce echo and enhance sound clarity in your home studio.
How Often Should I Update My Home Studio Gear?
Think of your studio like a garden; it needs tending and occasional pruning. You should update your gear every 1-2 years, especially as technology evolves and your skills grow. Keep an eye on studio ergonomics to prevent fatigue and guarantee comfort. Also, check equipment compatibility to streamline your workflow. Regular upgrades help you stay fresh, inspired, and producing high-quality sound without feeling overwhelmed by outdated gear.
What Are Common Mistakes to Avoid When Upgrading a Home Studio?
When upgrading your home studio, avoid neglecting studio lighting and cable management. Poor lighting can affect your mood and visibility, so invest in adjustable, soft lighting options. Bad cable management causes clutter and potential equipment damage, so organize cables neatly using clips or sleeves. Also, don’t rush upgrades—test new gear thoroughly to guarantee it enhances your workflow. Staying mindful of these details keeps your studio efficient and professional-looking.
Conclusion
Small upgrades can make a huge difference, transforming your home studio into a space that inspires, a space that sounds professional, and a space that boosts your creativity. When you choose better equipment, improve your acoustics, and upgrade your headphones, you’re not just enhancing sound—you’re elevating your entire workflow. Remember, it’s the simple changes that lead to the biggest leaps. So start small, think big, and watch your sound quality and confidence soar.